15% Off Classic Pink Party Supplies


Discover Our Collections
Discover Exquisite Tableware and Drinkware Collections for a Culinary Celebration

Our Mission
Whether it's everyday entertaining or stocking up for your small business, Napkins.com is here to cater to you!
Best Sellers
Shop our top selling products
-
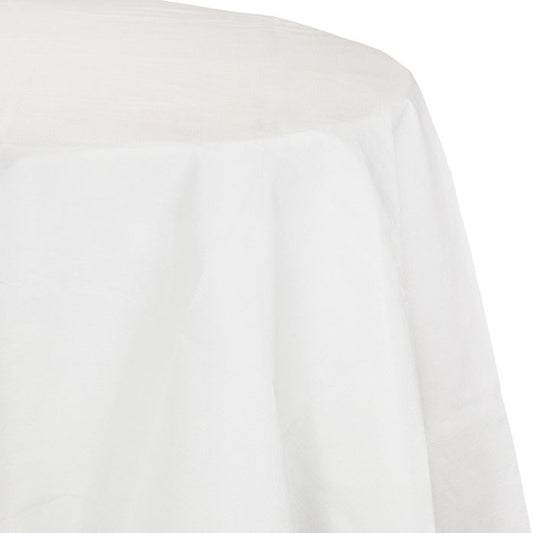
White Octy-Round Paper Tablecloths 12 ct
Regular price $47.97$4.00 per unit$4.0 per unitSale price $47.97 Regular priceUnit price / per -
White Beverage Napkins 3-Ply 500 ct
Regular price $24.95$0.05 per unit$0.05 per unitSale price $24.95 Regular priceUnit price / per -
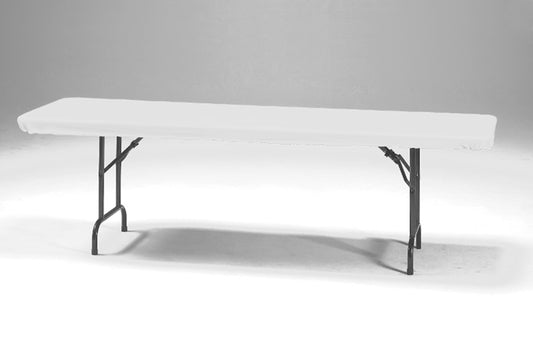
White Stay Put 30" x 96" Tablecloths 12 ct
Regular price $42.95$3.58 per unit$3.58 per unitSale price $42.95 Regular priceUnit price / per -
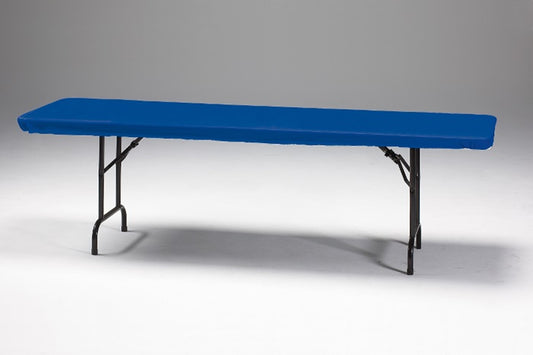
Royal Blue Stay Put 30" x 96" Tablecloths 12 ct
1.0 / 5.0
(1) 1 total reviews
Regular price $42.95$3.58 per unit$3.58 per unitSale price $42.95 Regular priceUnit price / per

Napkins
With a wide variety of napkin colors, folds, durability, and softness, we have a napkin for every event!
-
White Beverage Napkins 3-Ply 500 ct
Regular price $24.95$0.05 per unit$0.05 per unitSale price $24.95 Regular priceUnit price / per -
Ivory 3-Ply Guest Towels 192 ct
Regular price $28.95$0.16 per unit$0.15 per unitSale price $28.95 Regular priceUnit price / per -
White 2-Ply Beverage Napkins 600 ct
Regular price $25.95$0.05 per unit$0.04 per unitSale price $25.95 Regular priceUnit price / per -
White Better than Linen Guest Towels 288 ct
5.0 / 5.0
(2) 2 total reviews
Regular price $51.95$0.19 per unit$0.18 per unitSale price $51.95 Regular priceUnit price / per

Tablecloths
Add style & ease with help from our disposable tablecloths
-
White Octy-Round Paper Tablecloths 12 ct
Regular price $47.97$4.00 per unit$4.0 per unitSale price $47.97 Regular priceUnit price / per -
White Stay Put 30" x 96" Tablecloths 12 ct
Regular price $42.95$3.58 per unit$3.58 per unitSale price $42.95 Regular priceUnit price / per -
White Paper Tablecloths 6 ct
Regular price $21.95$3.66 per unit$3.66 per unitSale price $21.95 Regular priceUnit price / per -
White Stay Put 29" x 72" Tablecloths 12 ct
Regular price $41.95$3.50 per unit$3.5 per unitSale price $41.95 Regular priceUnit price / per
